
Summary
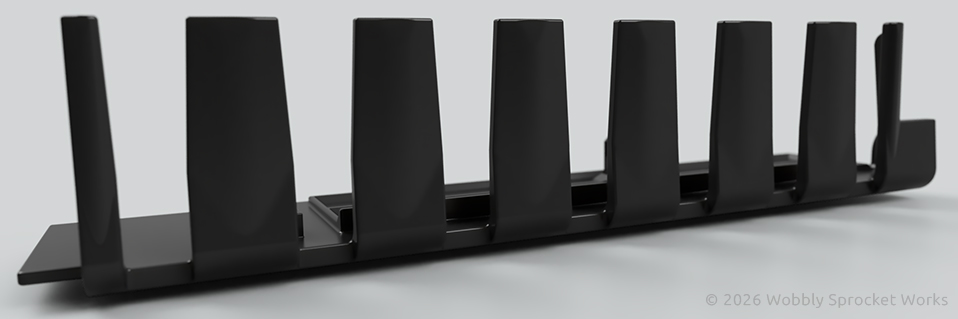
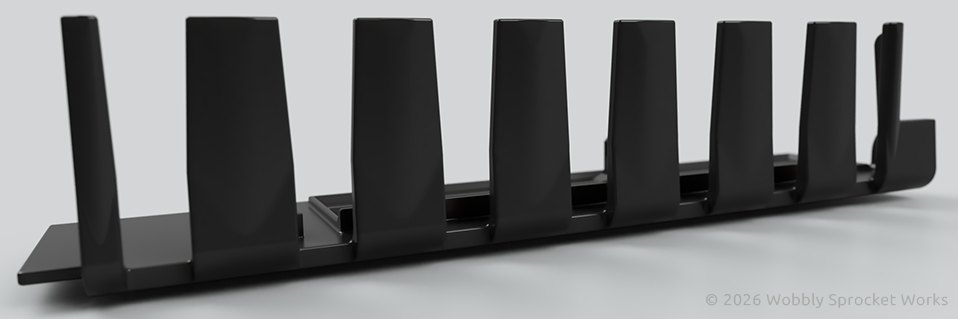
An improved replacement part for a fridge/freezer’s ice maker.
Design Origin
A friend asked me to design a replacement for a part of his refrigerator’s ice maker, which was breaking every few months and dropping plastic shards into his family’s water cups. Replacement parts range in price from $32.00 to over $80.00, so the problem was becoming expensive.
The part in question is called an ice stripper and from my research, every modern fridge with an ice maker uses something similar. It has a row of fins which remove the ice cubes from a rotating rack on which they are formed, so they can drop into the ice bin. During this process, there is pressure exerted on the fins, which appears to be why they break.

Purpose / Goals
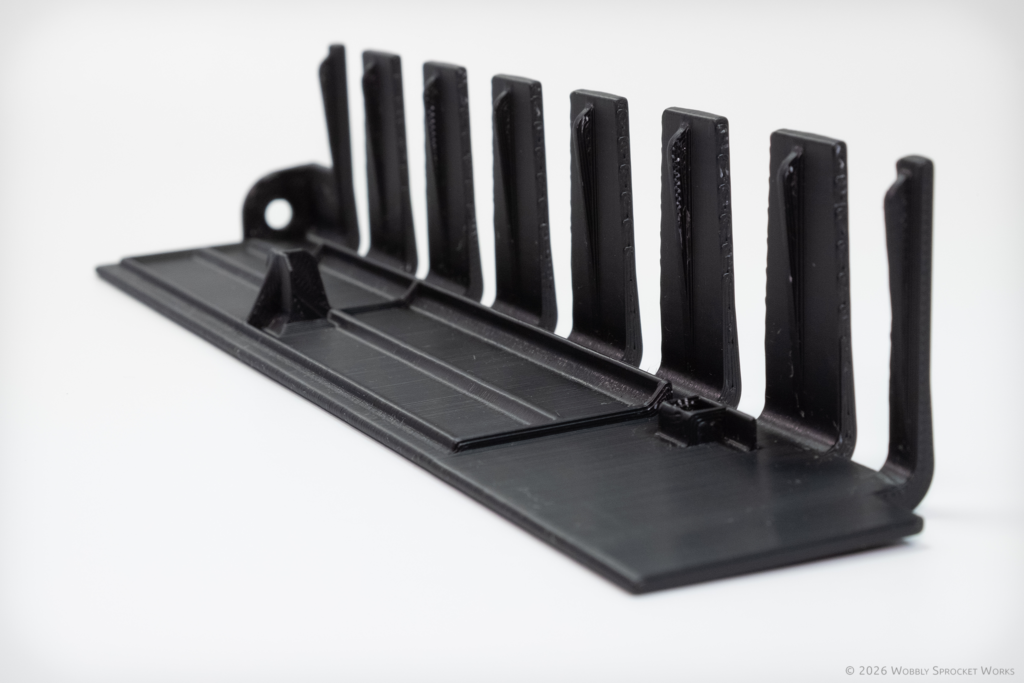
Replacement and improvement of the OEM ice stripper which tends to break often. Must last longer than the OEM part.
Design Process
This was one of the first designs I made using Autodesk Fusion. It’s a relatively simple model, so it provided a good introduction to the tools in that software. I won’t say learning Fusion is easy – I have a bit of a love/hate relationship with it, due to many cases of crashing or hanging. However, I am getting better at recognizing what makes it angry and avoiding those things when possible.
I started with something very close to the original part, thinking if I used a similar design built from a type of filament well suited to extreme temperatures (ASA), the issue might well be solved. I used photos and measurements taken of the (broken) OEM part to come up with a replacement design and printed it in an inexpensive PLA filament I use for prototypes.
I then provided it to my friend so he could fit-test it. It took a few design iterations to get the fitment correct, which is par for the course with this sort of endeavor. Once we had the fitment dialed in, my friend decided to go ahead and try a functional test despite that prototype being made from PLA. That one lasted about 2 weeks before breaking in much the same way as the OEM part.


With this knowledge in hand, I went about beefing up the areas which were most prone to breaking. The main difficulty here was that I only had a couple of photos to give me an idea of where and how I could strengthen the design while maintaining fitment.
There was actually not a lot of room to work with, as this part is rather sandwiched in between several other components of the ice maker. I ended up making four main changes to strengthen the design.
- Adding pronounced fillets to the 90 degree bend at the base of the fins which were breaking, as well as nearly doubling its thickness. A gradual bend is stronger than a sharp corner, as the material is better able to distribute stress along the curve without starting to break.
- Changing the print orientation of the part so that it would print on its end. This solved the issue of the layer lines weakening that area, making them work for us whereas before they were working against us.
- Thickening the strengthening members on the bottom of the fins.
- Tweaked print settings for more strength. Using 4 walls, this part is now printed almost totally solid.
Testing Process
The resulting 2nd prototype looked very similar to the first, but already felt much stronger based on its weight and rigidity. My friend installed it, and… I heard nothing for a couple of weeks. I assumed no news was good news, but I asked for an update and he said the prototype was still going strong. I offered to print him a ‘real’ one out of ASA, but he was happy with the prototype he had. That was about 7 months ago and once in a while I still hear the part is holding up like a champ, so I am calling this one a win.
Design Update 1
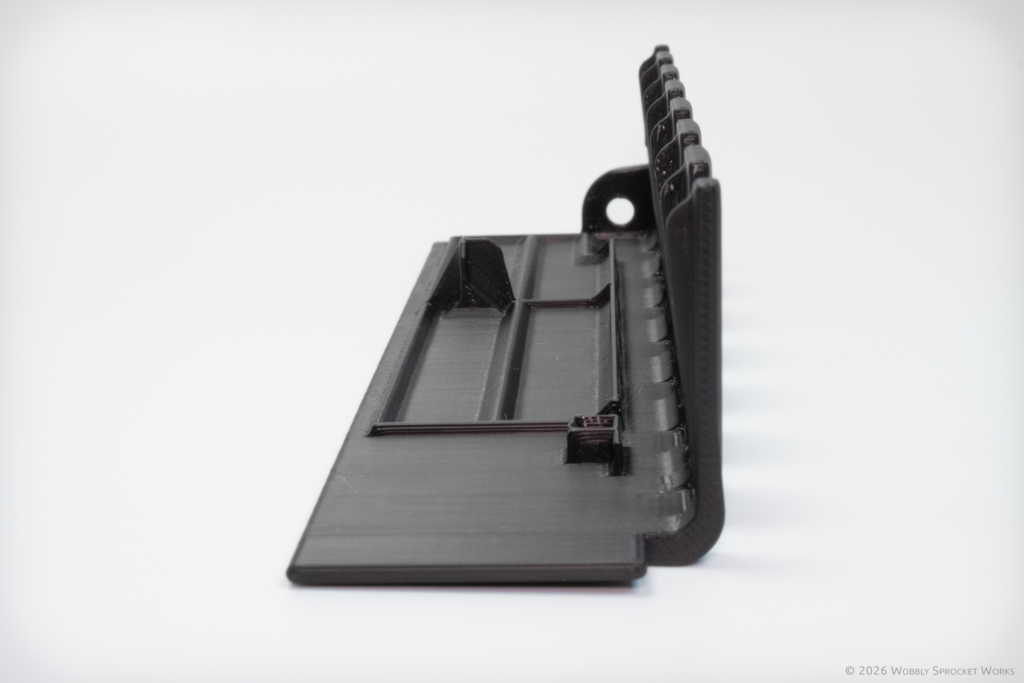
The 2nd prototype lasted in my friend’s freezer for 9 months before breaking. Interestingly, the part’s fins did not break off which was the case with the OEM part and my first prototype. The entire part instead popped out of place and then got ground up in the ice crusher. I believe the part must have bent over time until the dimensions were off enough that it simply popped out while under the pressure of the ice cubes it was supposed to be stripping.
While that is about 3x the life of the OEM part, that is not long enough for me. That prototype was made from PLA pro. Going forward, I will only be producing these in ASA which will undoubtedly perform better than the PLA did, since ASA is stronger and more resistant to extreme temperatures.