Summary
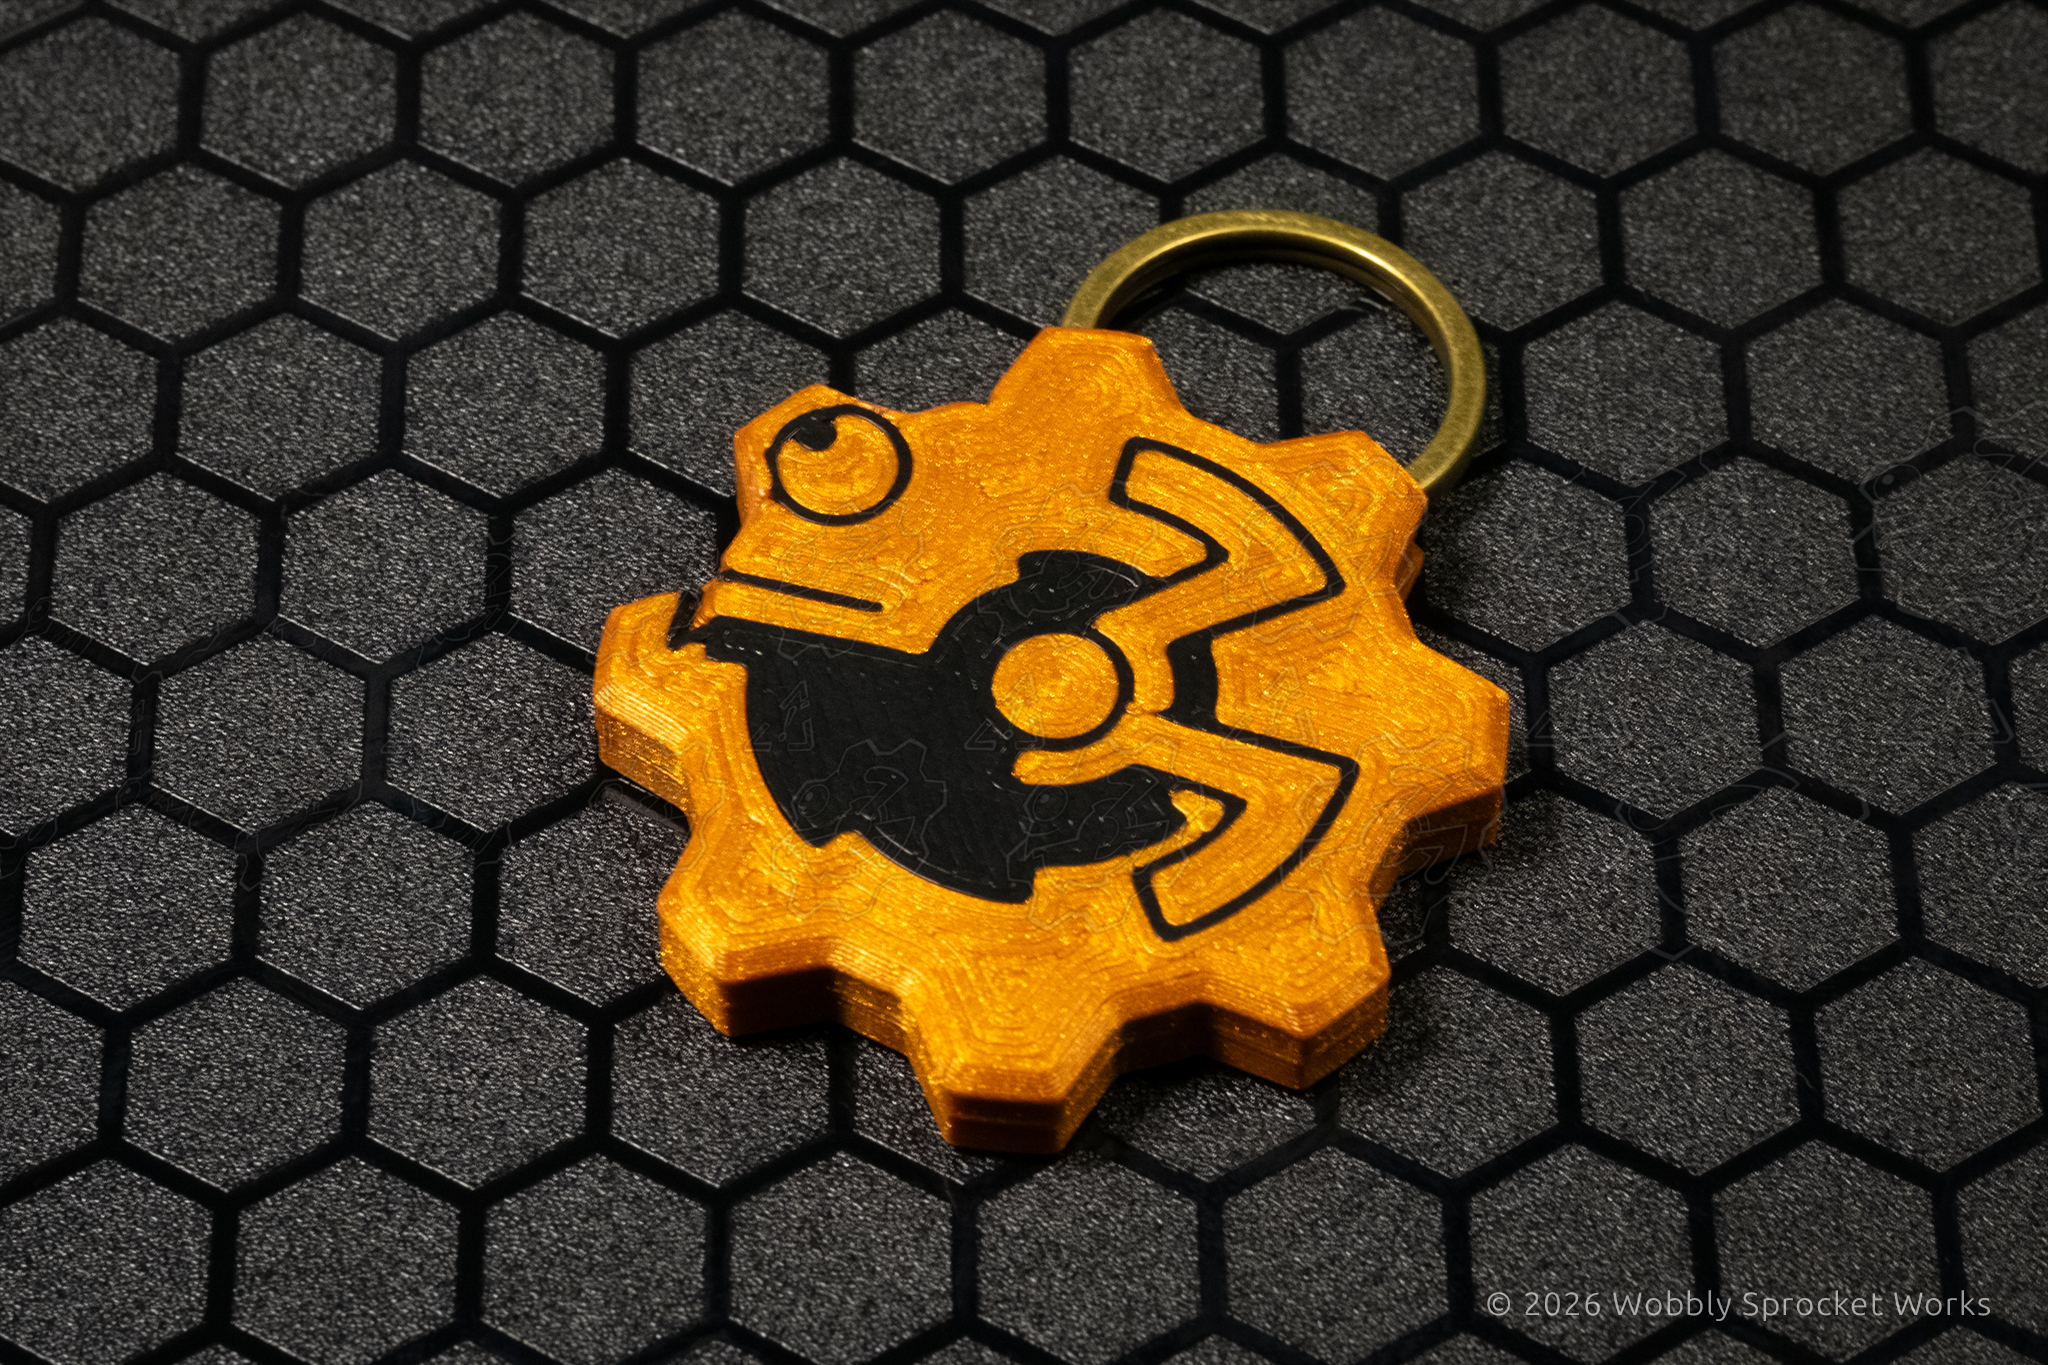
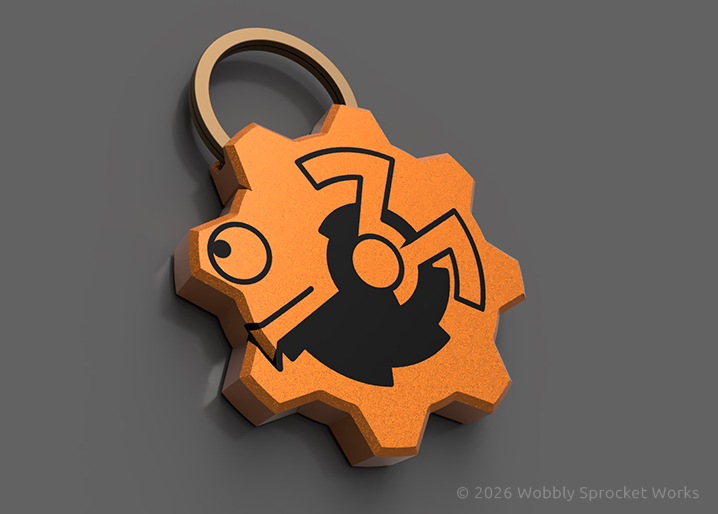
A keychain design featuring Wobbles, our logo mascot.
Design Origin
I wanted to design something small but nice which I could include as a free item with orders, or hand out to people instead of business cards. In case I haven’t mentioned it elsewhere, Wobbles is my shop’s mascot. He is a mechanical chameleon who enjoys pretending to be gears and such. He is a hugely positive little guy, and has encouraged me greatly through the past year or so. As such, I felt compelled to feature him in our logo.
Design/Manufacturing Process
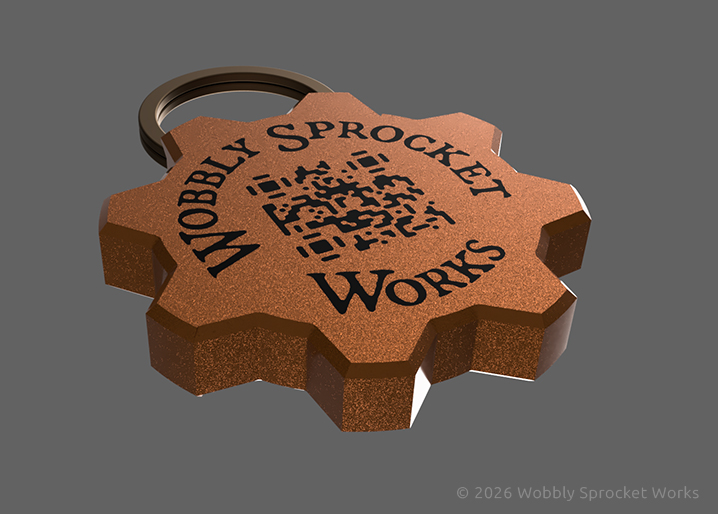
I used existing design assets from my work designing our logo to establish the shape of the keychain. I chose a size of about 40 mm diameter. I wanted Wobbles on one side and the shop’s name on the other, along with a QR code which links to our website.
3D printing isn’t the greatest method of rendering text, or QR codes, for that matter. Someday I would like to be able to laser engrave the graphics on these, but for now this works. I am using my G10 build plate for these, which leaves a shiny surface on the print.
To make both sides shiny, this keychain is designed in two halves which print separately and then lock together, capturing the split ring in the middle.
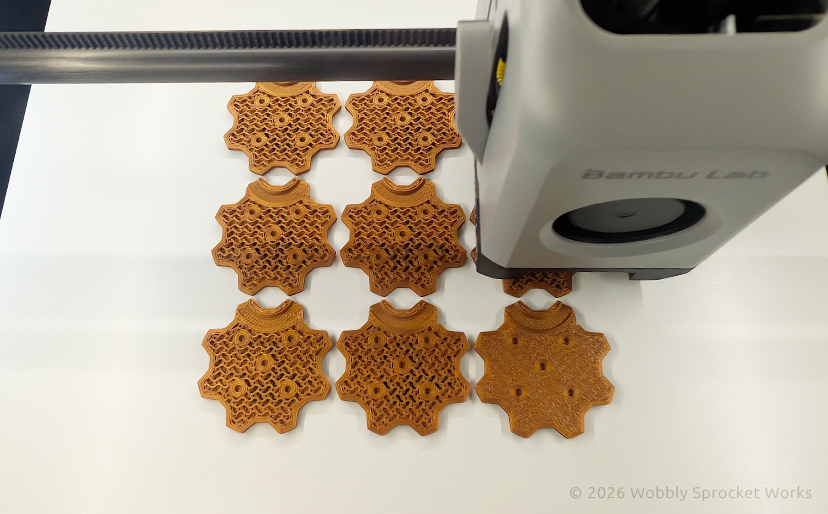
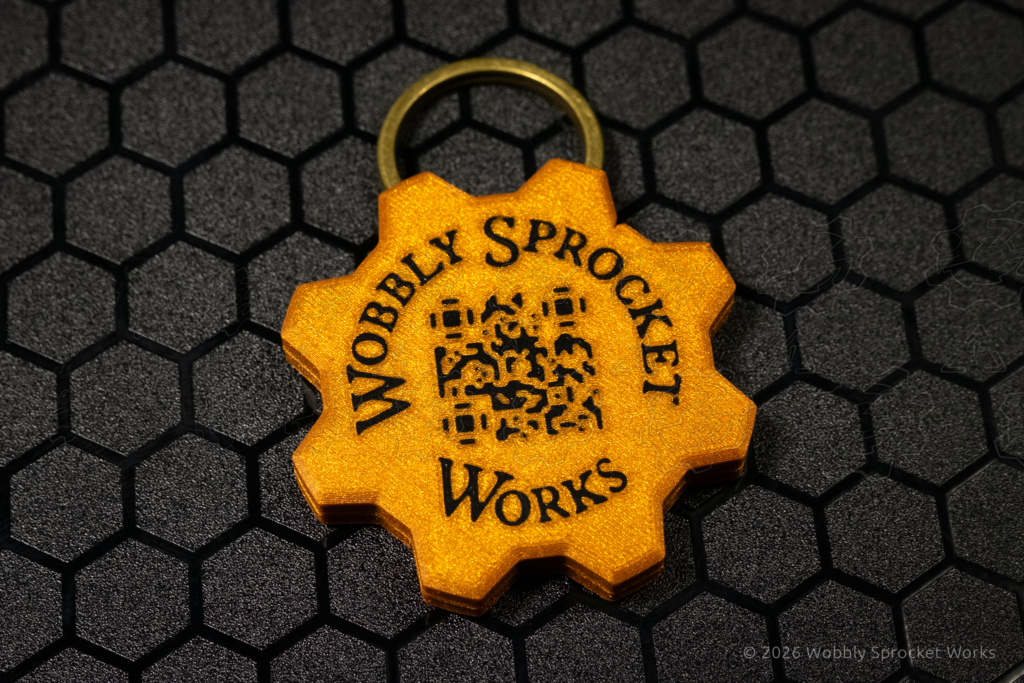
For the rear side containing the text and QR code, I printed using a 0.2 mm nozzle for higher detail (the QR code needs to have a certain level of detail, or it won’t scan correctly).
For the half with Wobbles on it, I actually wanted chunkier, thicker lines. When I was prototyping the logo badge on the Engineer’s Clamp Hammer, I tried a bunch of different print settings, patterns, nozzle sizes, etc. In my opinion, the logo looks better when rendered in thicker lines. This partially has to do with the filament I am using, as it includes a bit of metallic flake.
The thicker lines seem to display the metallic flake better, causing Wobbles to shine in a way I really enjoy. I decided on using a 0.4 mm nozzle and manually oversizing the line width to about 0.7 mm on the copper colored part.
I sourced some brass-colored keychain rings, and added a cutout to fit them on the back of each keychain half. I put holes on the back of one half, and little pegs on the back of the other, with a miniscule annular ring on them so they would snap in and fit very tightly once the two halves were smushed together. I also glued them using a tiny bit of strong glue, for good measure.
Testing Process
I now have one of these on my keychain, and I intend to keep it there for a while (who am I kidding, it’s never coming off of there) to make sure nothing goes wrong with it during normal use, but I don’t foresee a keychain being prone to any catastrophic issues, so I think we are okay to start distributing these. I also had a loved one test the QR code to make sure it scans correctly on different devices, and it works on both iPhone and Android.