Summary
A collection of upgraded replacement parts for 2″ window blinds.
Design Origin
My house has had the same window blinds installed since I bought it in 2008. There were parts inside the head rails of my blinds which had reached the end of their service life – mainly, the drums and cradles. Over time, these parts inevitably become brittle and crumble, causing all manner of bad blind behavior.
Replacements for these parts are generally not sold by the manufacturer – they would much rather you buy new blinds. If you’ve ever checked the pricing on a set of blinds, you know how much that can cost.
Some of these parts can be bought at specialty shops, but they are not cheap and they are made from the same material as the OEM parts, meaning they too would crumble after some time. I wanted to design something more sturdy and save some money by extending the life of our blinds.
There were also less critical parts which we’d lost or broken over the years:
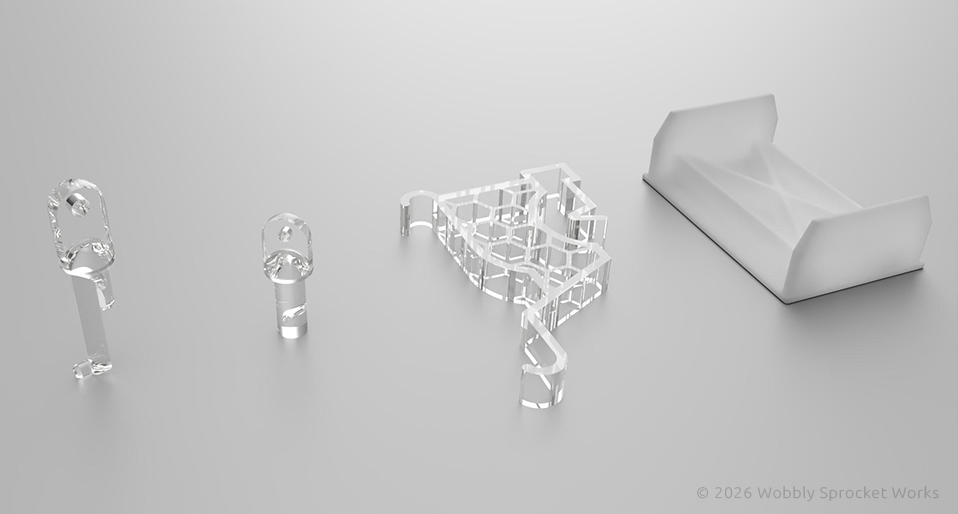
- The little plug at the end of the tilt control rod which hooks onto the tilt gearbox.
- The caps at the ends of the head rails.
- The clear plastic clips which hold the valence pieces to the front of the headrails – these tend to break when taking down the valences for cleaning.
Once word got out that I was making parts to repair blinds, some loved ones brought me their broken blinds which were the same size, but from a different manufacturer. This is how I ended up designing multiple versions of several parts.
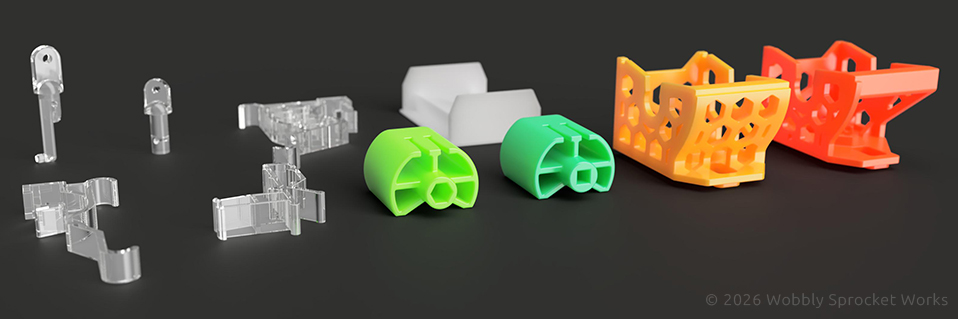
Since this entry covers multiple part designs, here’s a list of the parts I ended up making designs for:
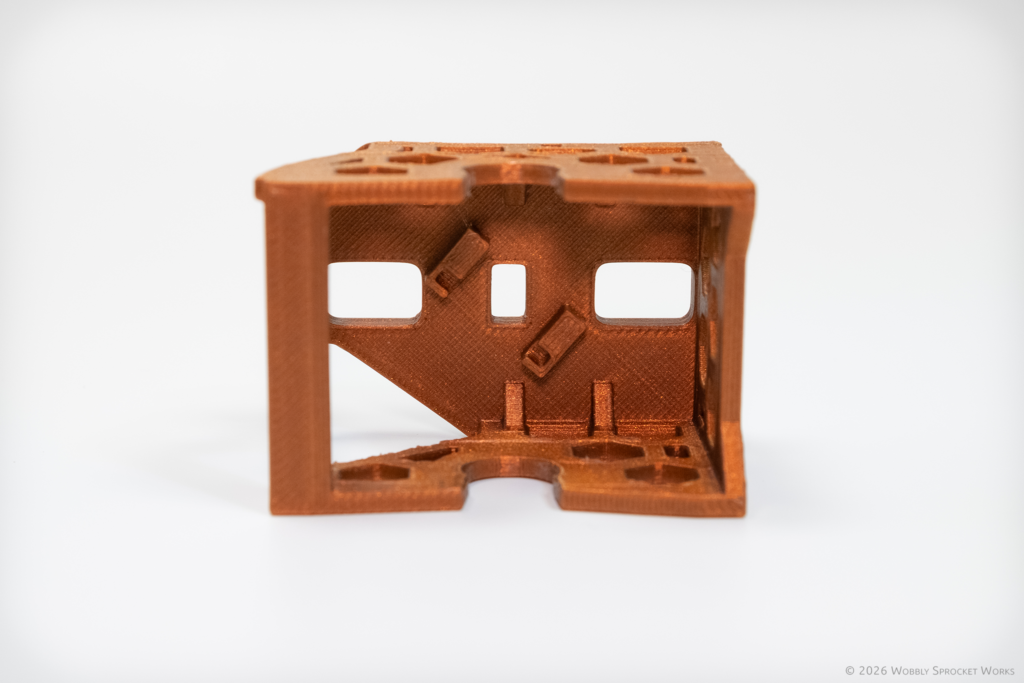
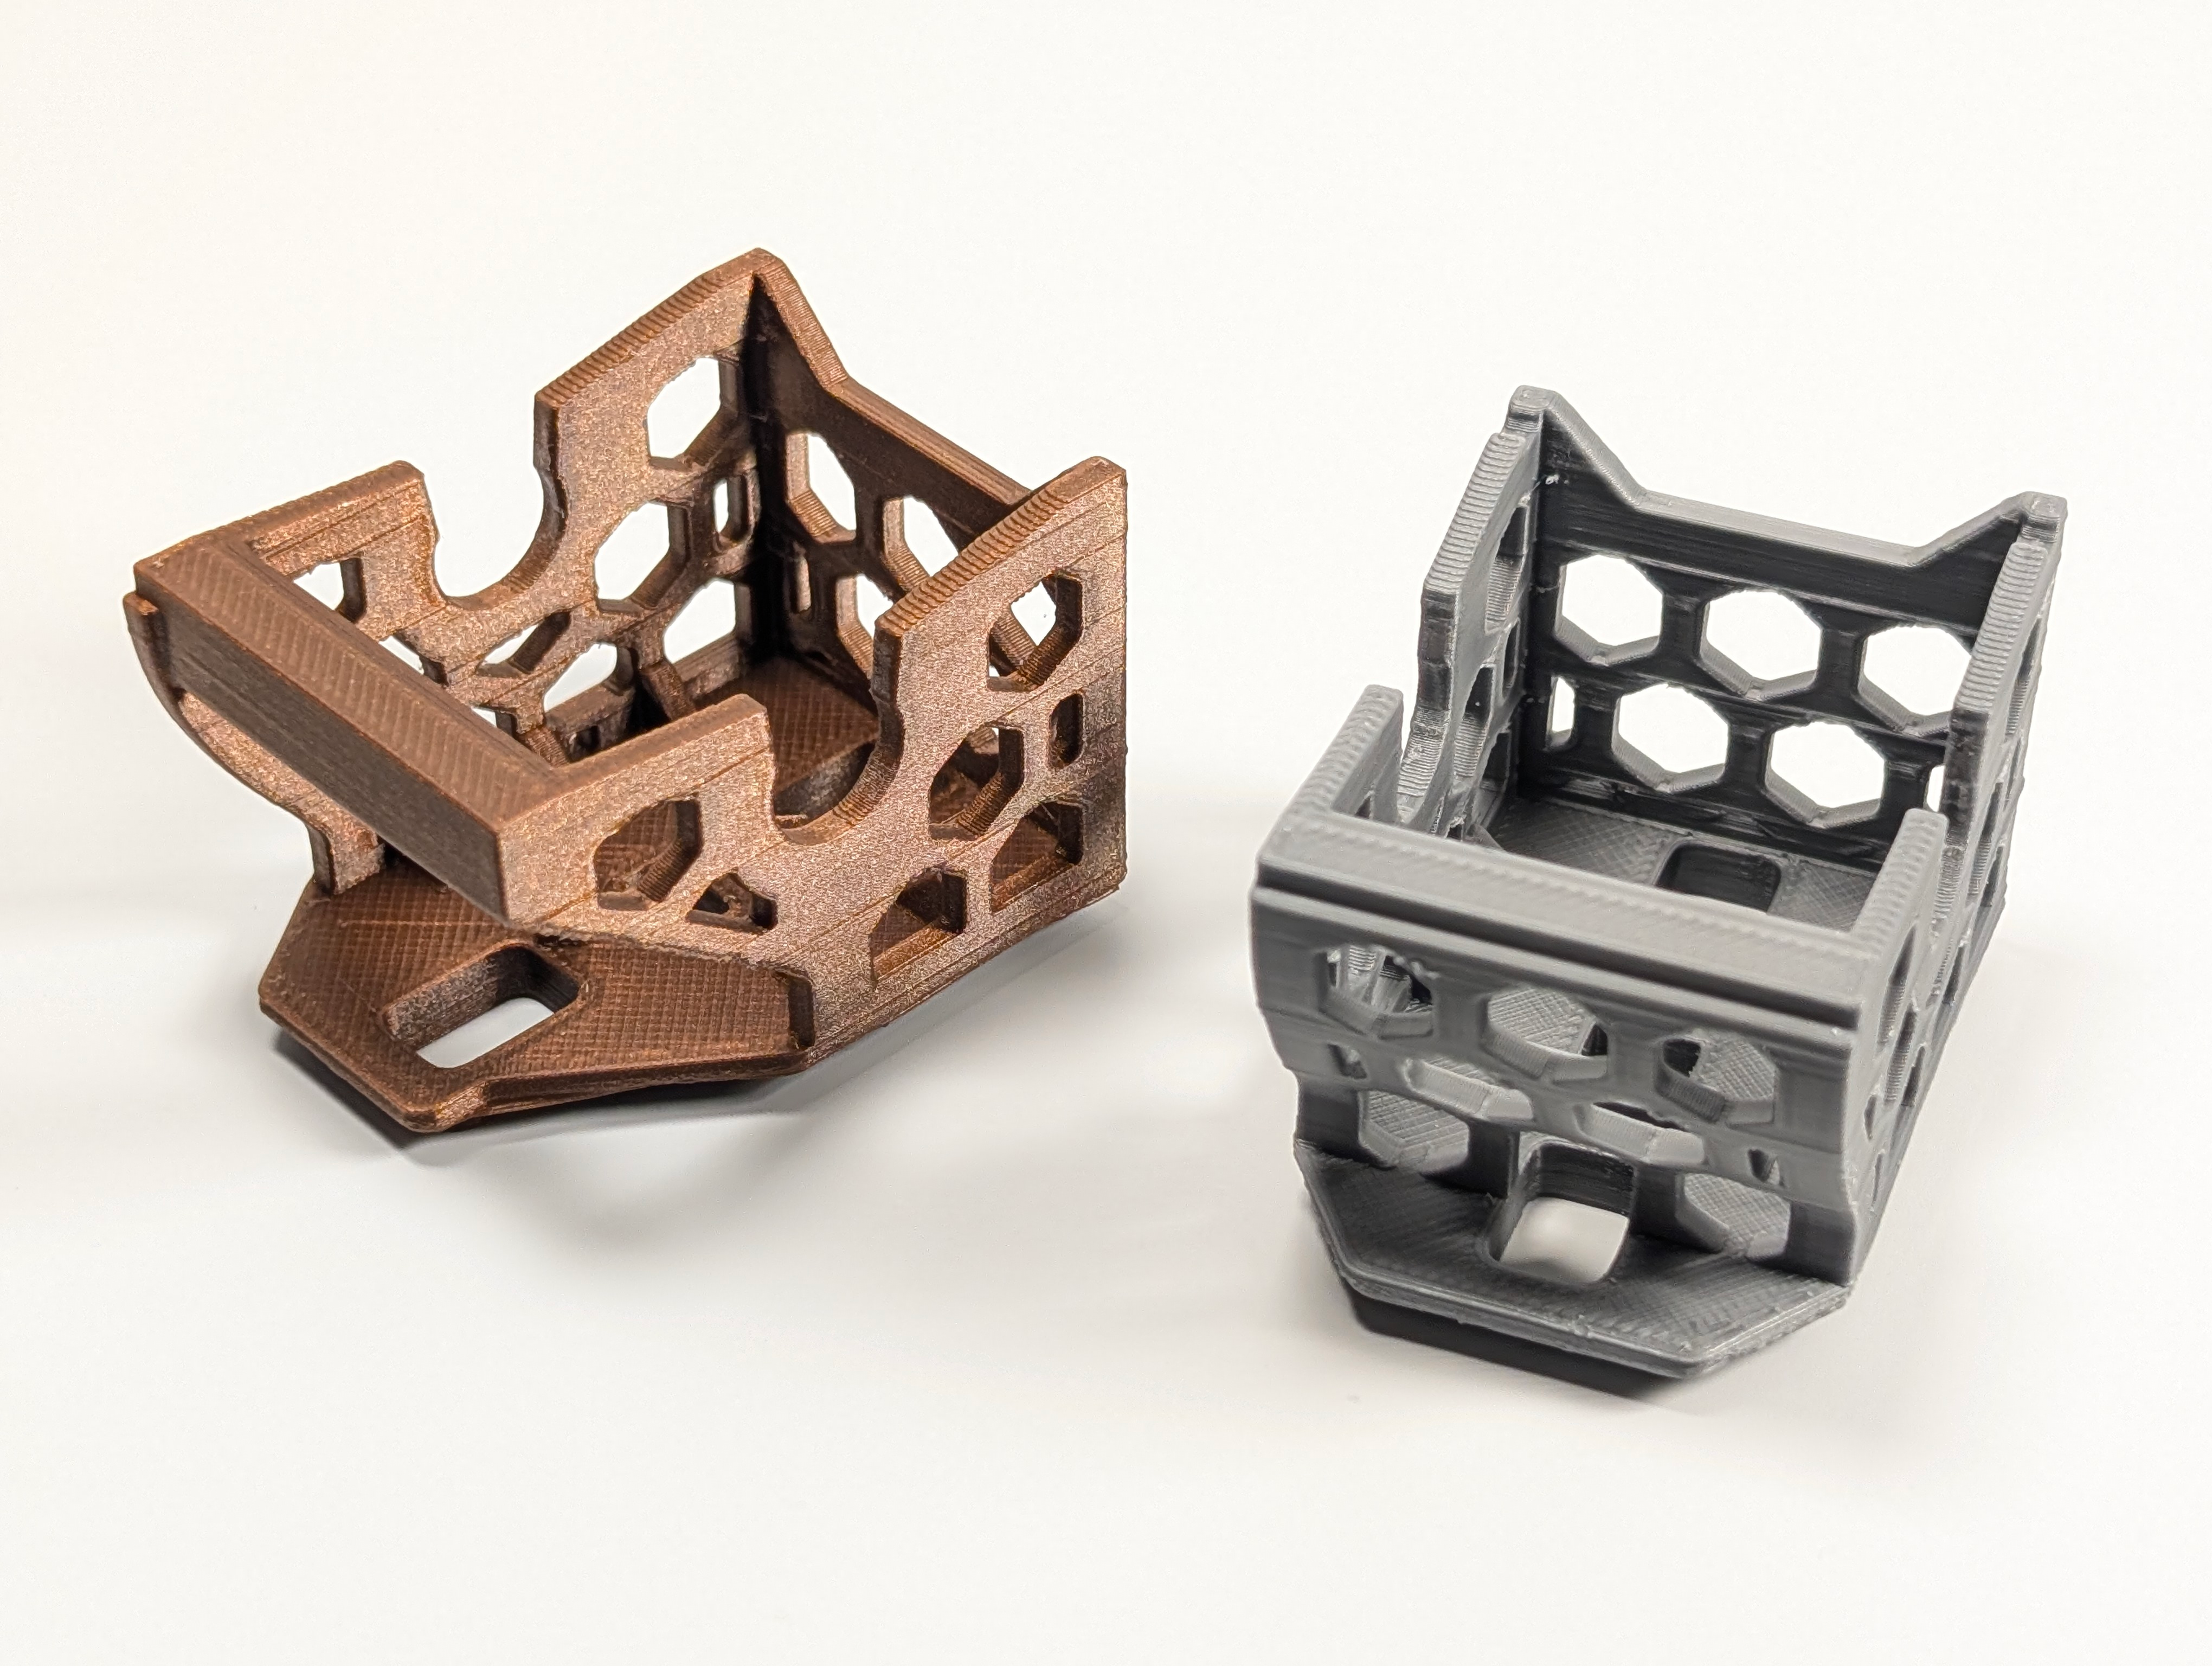
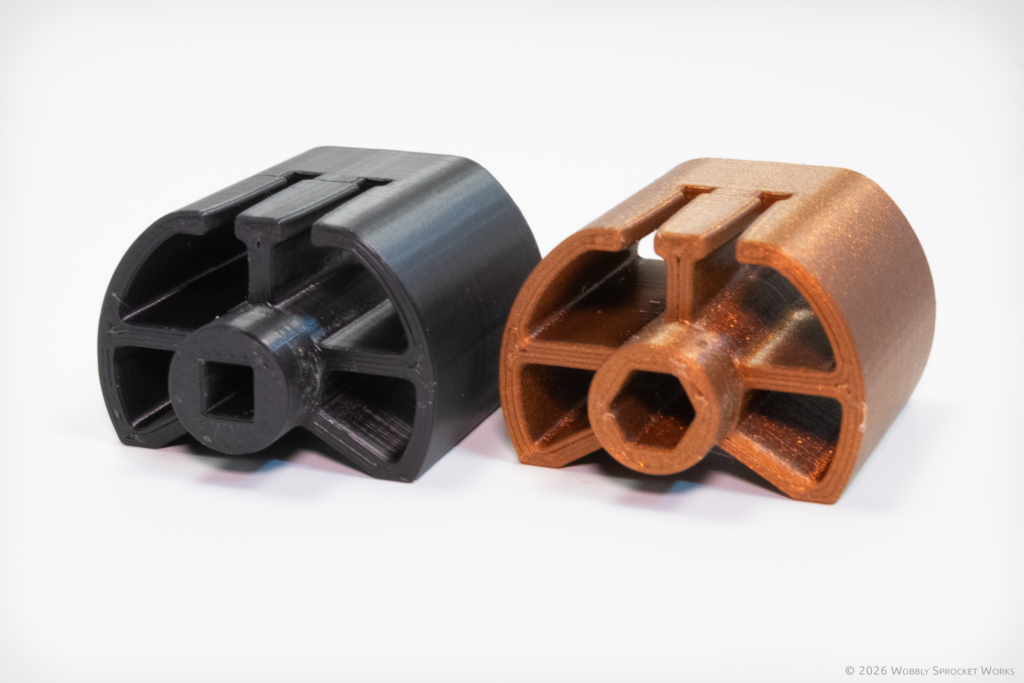
- 2” blind cradle (straight ver)
- 2” blind cradle (angled ver)
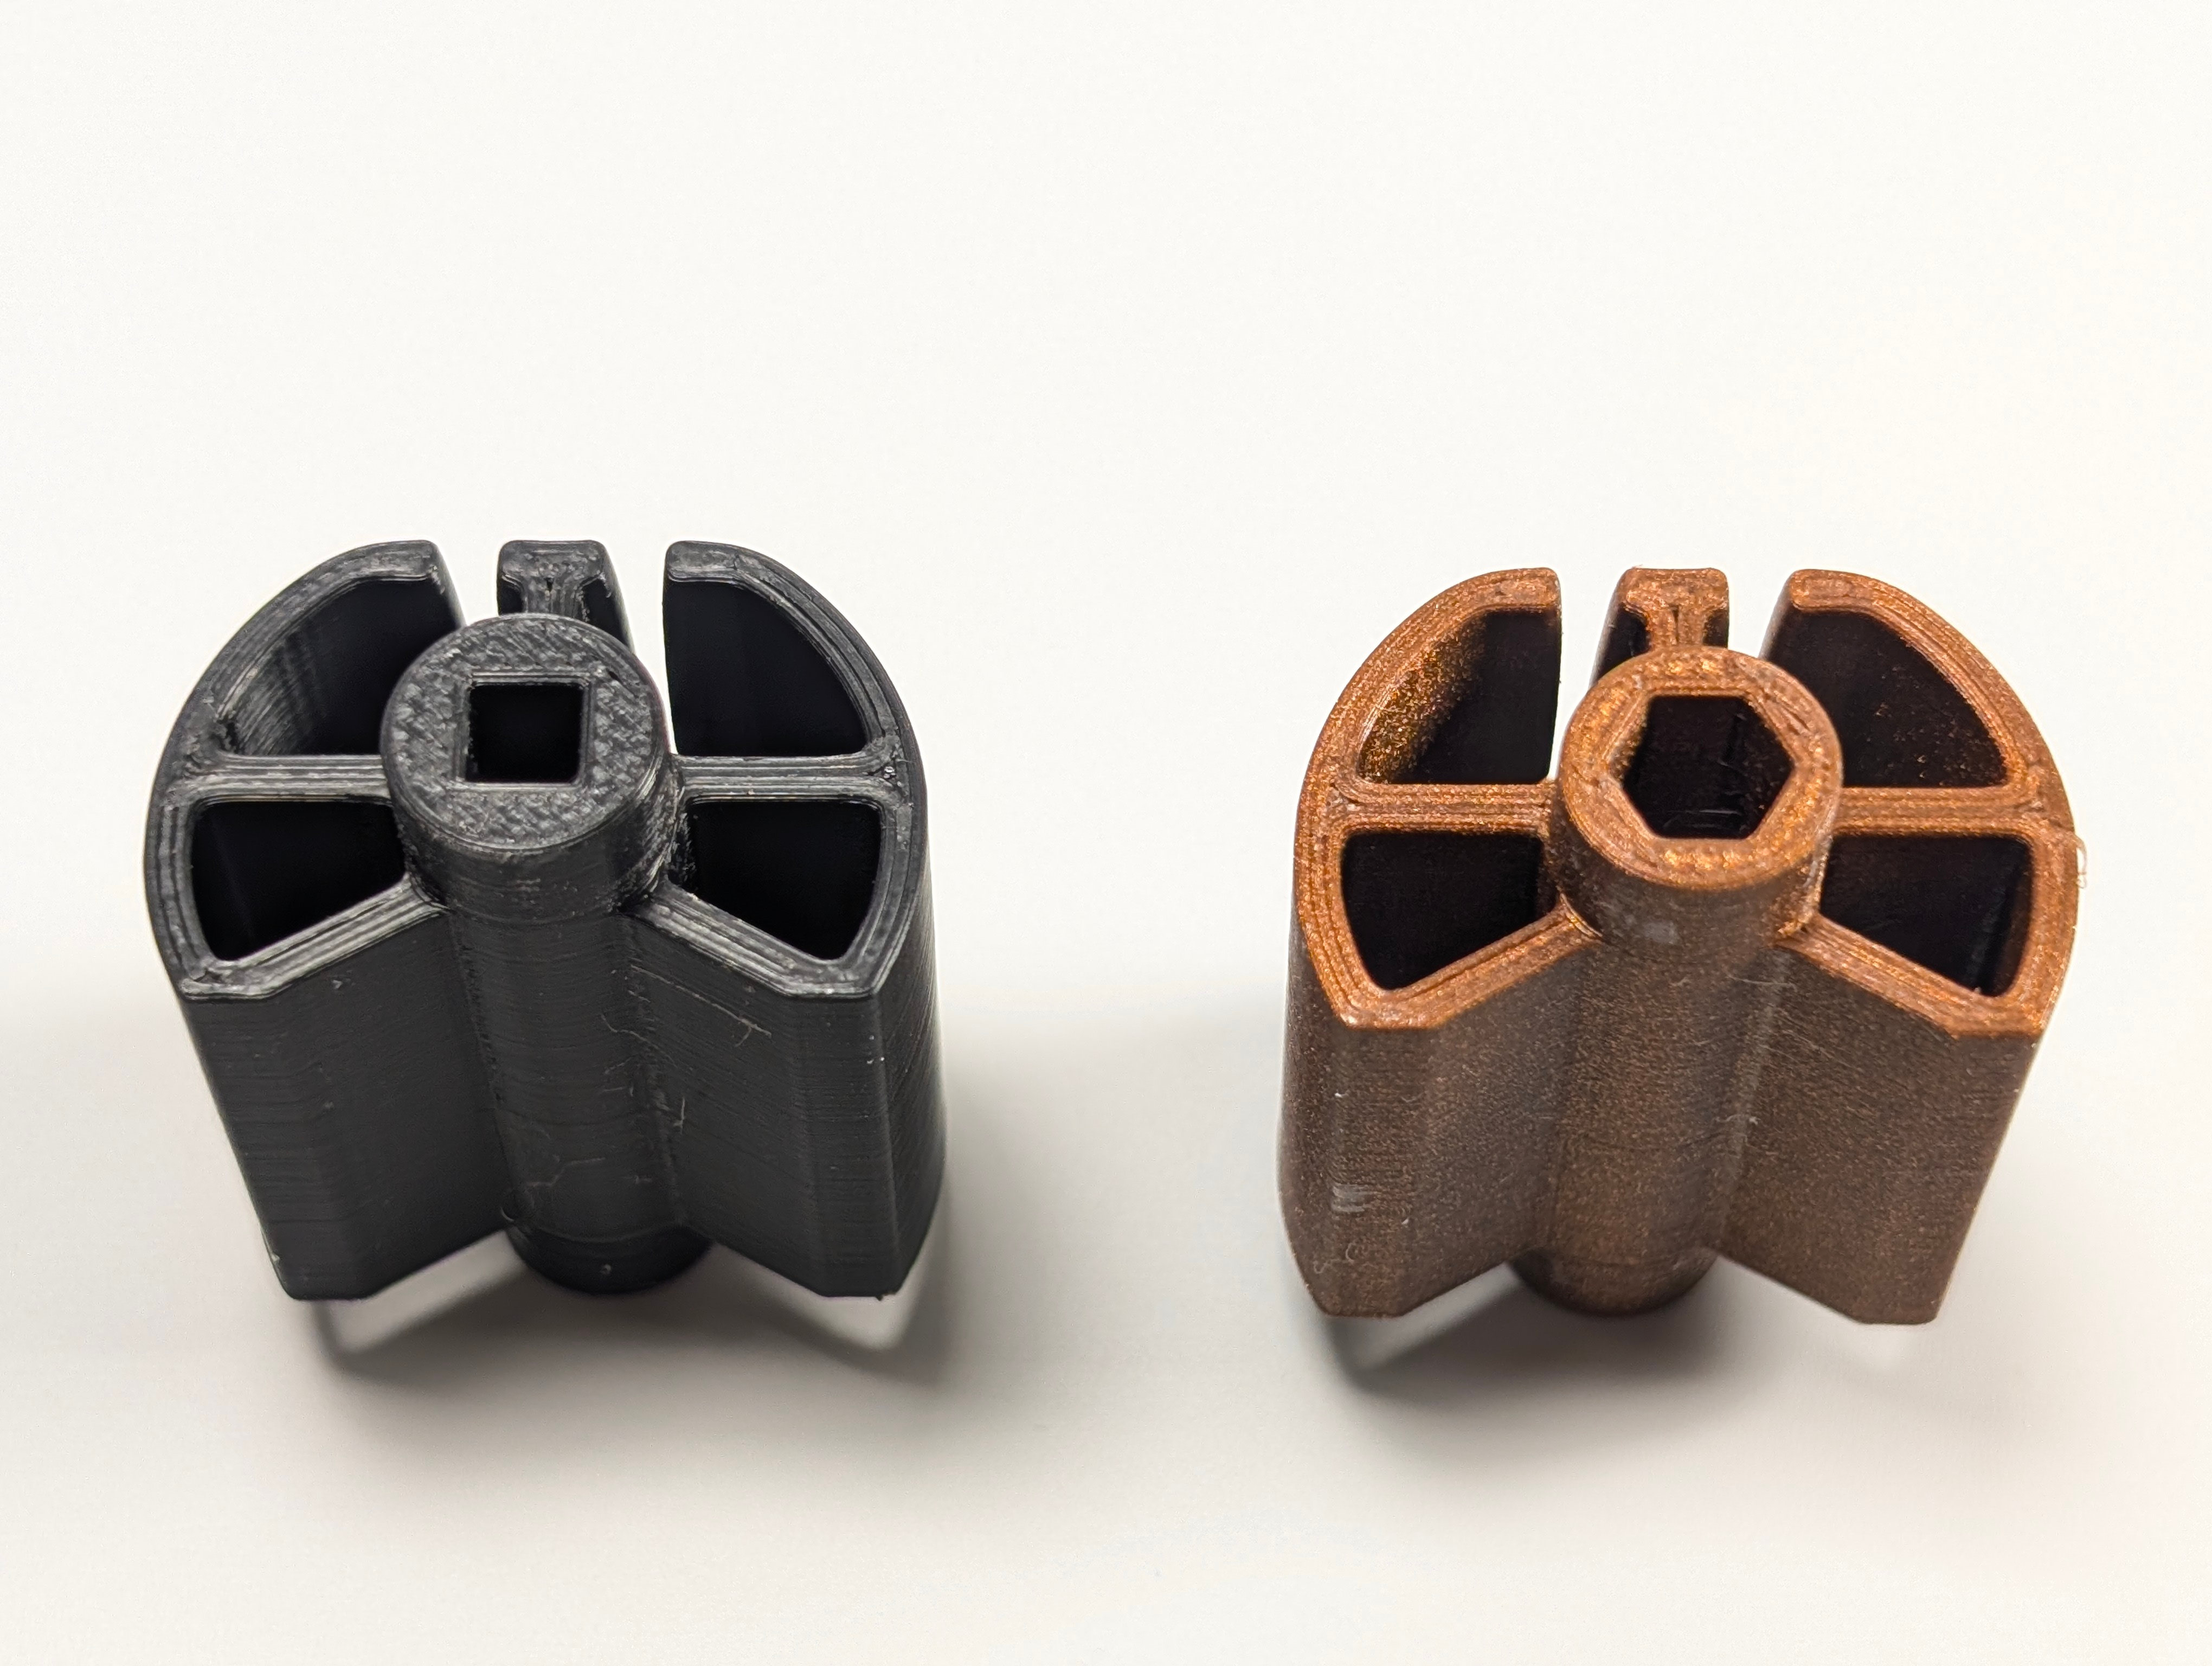
- 2” blind tilt drum (hex rod)
- 2” blind tilt drum (square rod)
- 2” blind tilt control hook (ver A)
- 2” blind tilt control hook (ver B)
- 2” blind valence clip (ver A)
- 2” blind valence clip (ver B)
- 2” blind modified valence clip (smart blinds)
- 2” blind head rail end cap
It’s worth mentioning that I have shared all of these blind repair parts on MakerWorld, so they are available for anyone with a 3D printer to print and use. They get slow but steady use and the feedback has been very positive.
The valence clips are by far the most popular models, followed by the tilt control hook. This illustrates how often those parts break, and how annoying it is to not be able to tilt your blinds or to have a missing or crooked valence.
One person commented and said the cradle and drum models justified the purchase of their 3D printer, because they were able to repair their broken blinds instead of replacing all of their blinds so that they would all match. That, my friends, is what 3D printing is all about!
Purpose / Goals
The purpose of these designs was to extend the life of broken window blinds, and shore up some weaknesses of the OEM parts.
The only design goal was to end up with working blinds while spending less than it would cost to replace the blinds entirely.
Design Process
I began by using my digital calipers to measure the original parts in all dimensions to ensure fitment inside the blinds’ headrail and compatibility with the tilt rod which runs the length of the headrail. I already knew I wanted my design to be beefier than the originals, so I kept similar outer dimensions to the OEM parts but all of the structural elements were 2-4 times thicker.
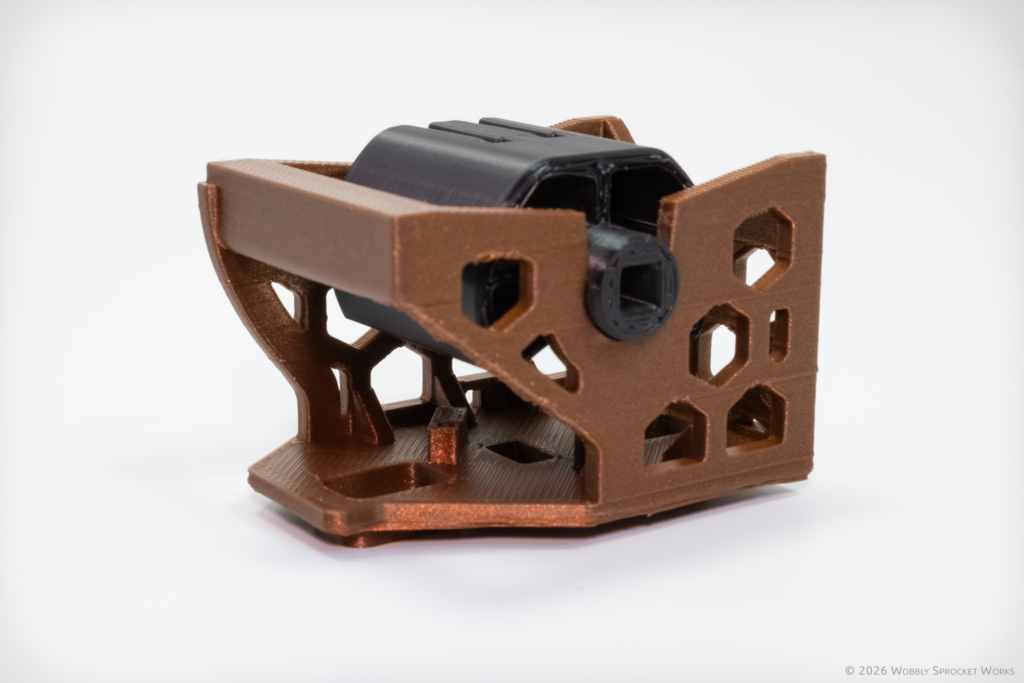
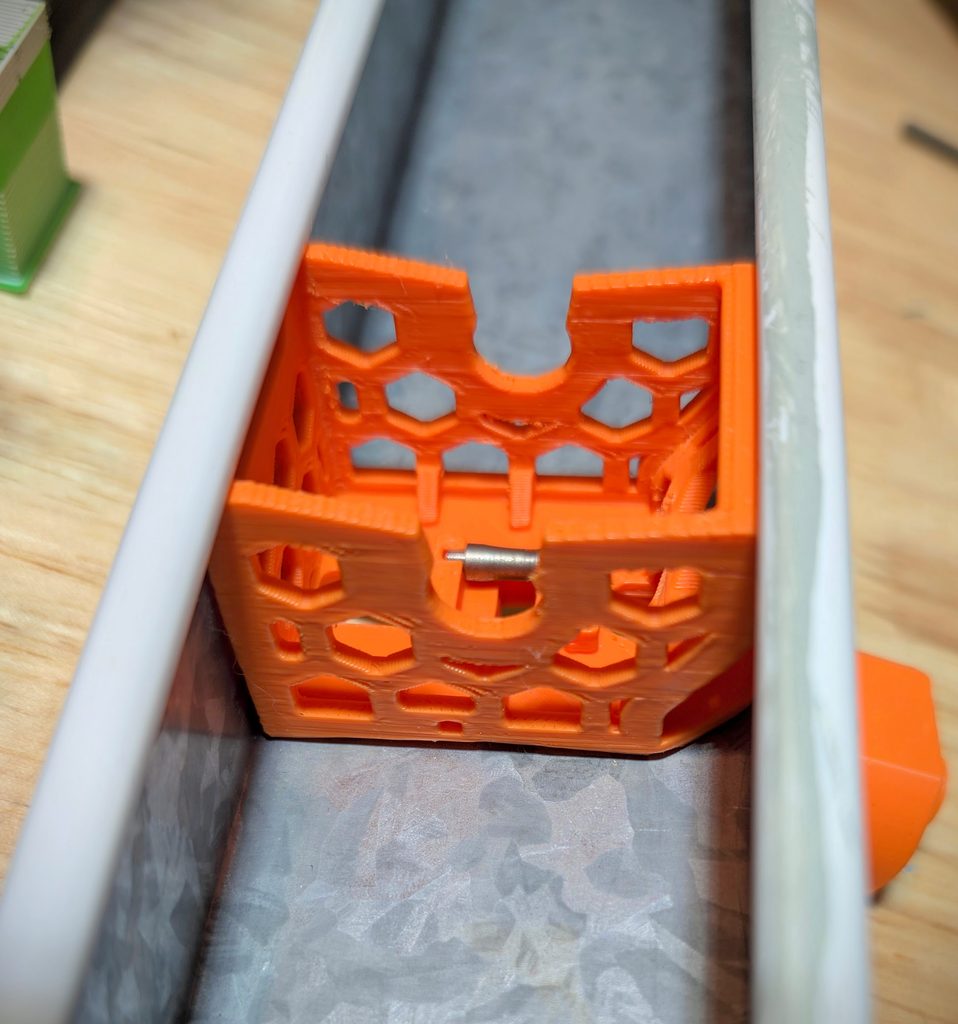
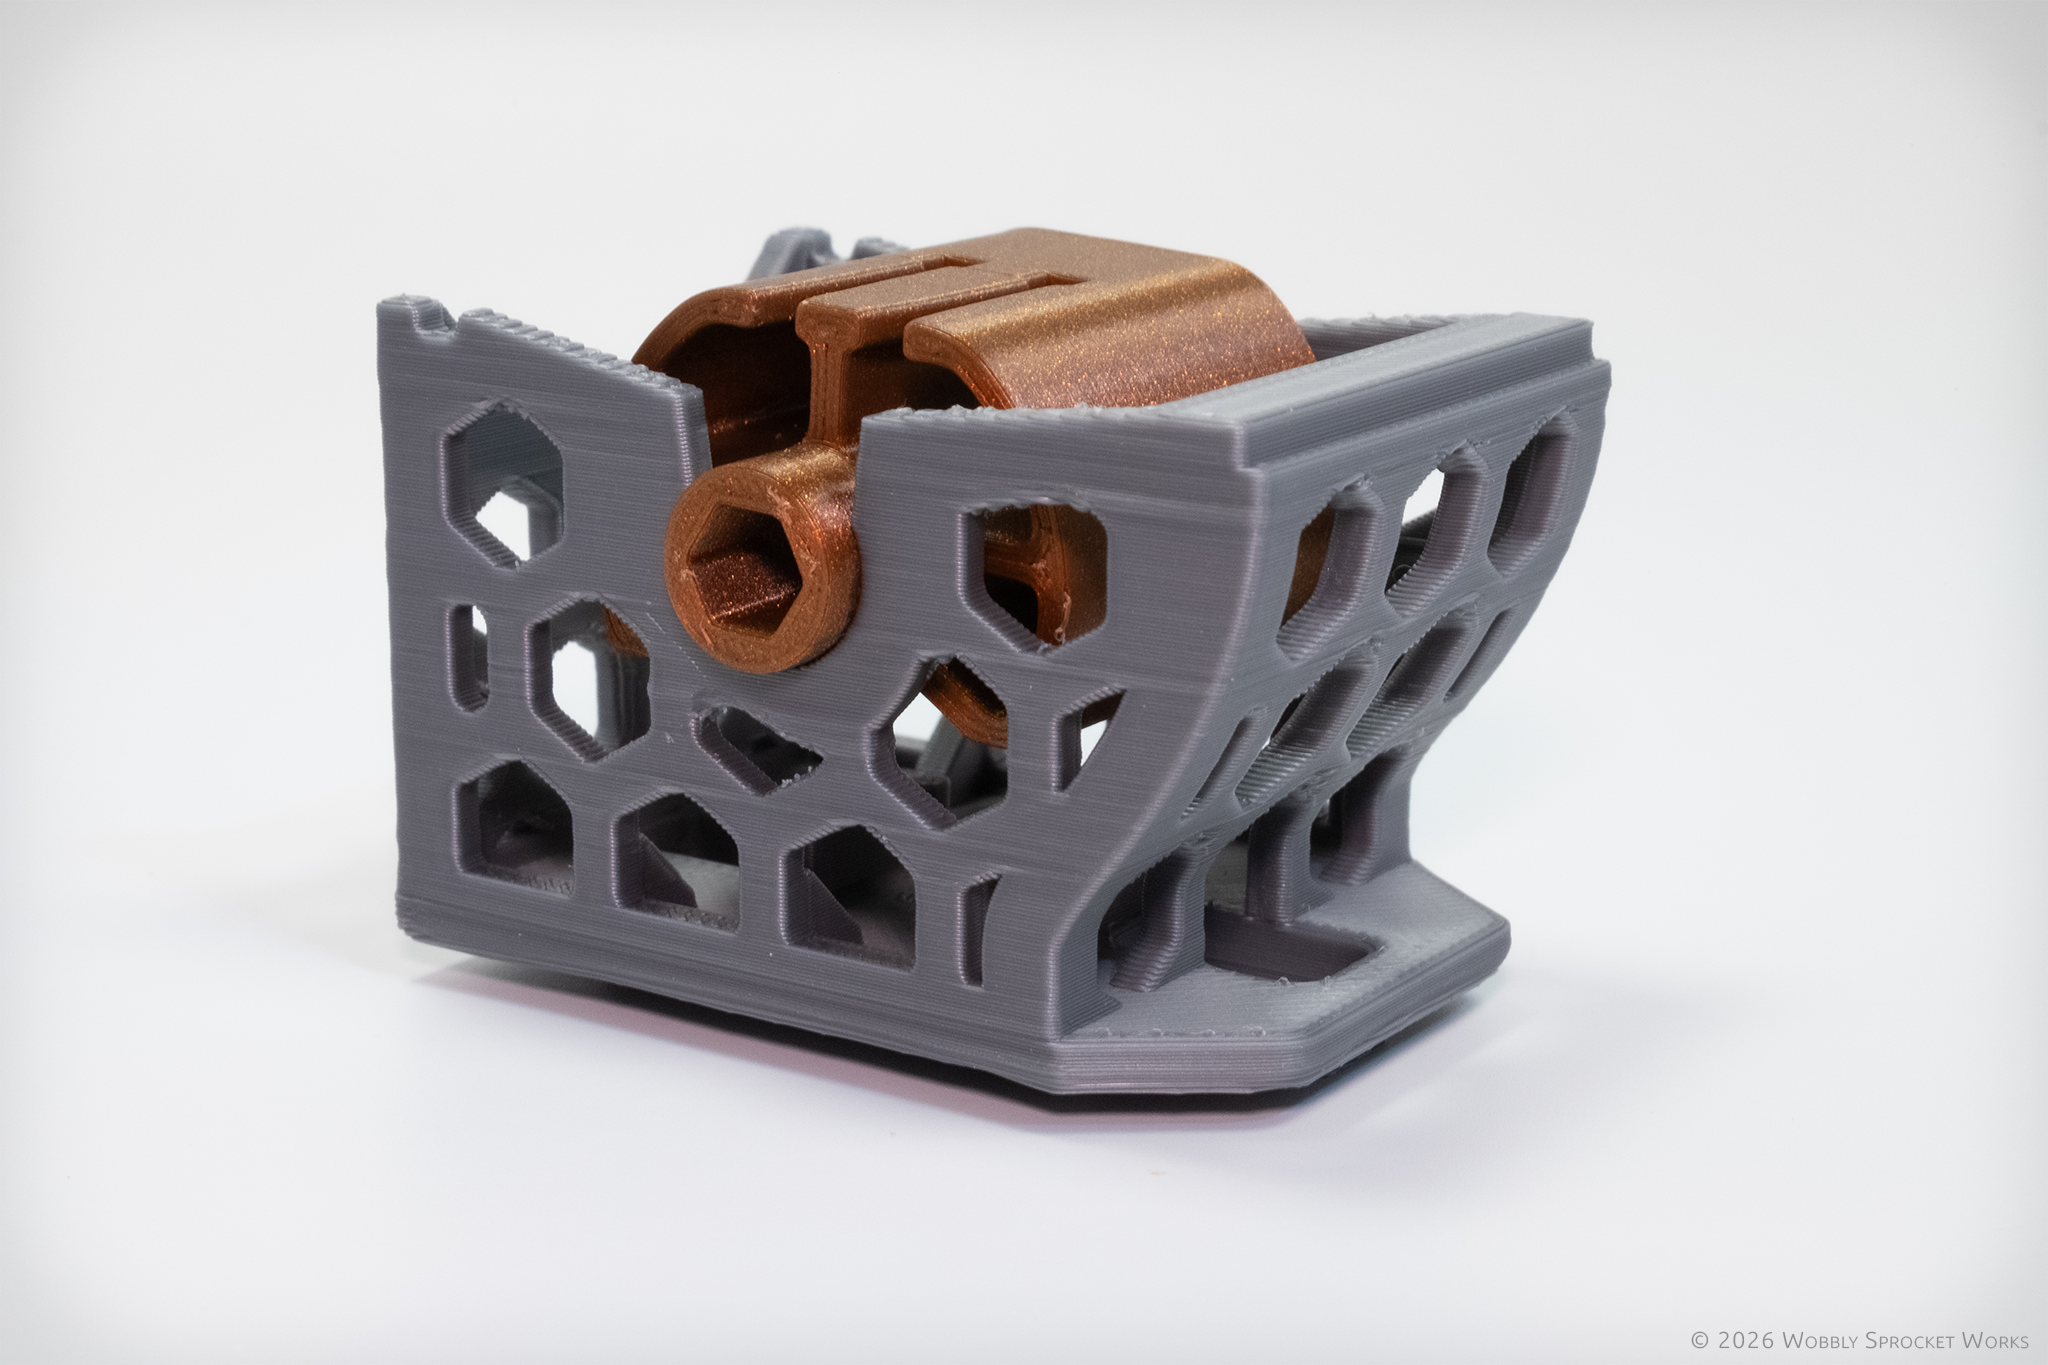
On the cradle models, I used hexagon shaped holes to skeletonize the side walls for filament savings and to allow plenty of places for strings to pass through. Hexagons are very structurally sound, so if you are going to riddle something with holes but still want it to be strong, they are a good choice.
At this point in my 3D modeling journey, I had a little experience many years prior with Sketchup (back when Google owned it and it was free), and no experience with parametric modeling tools.
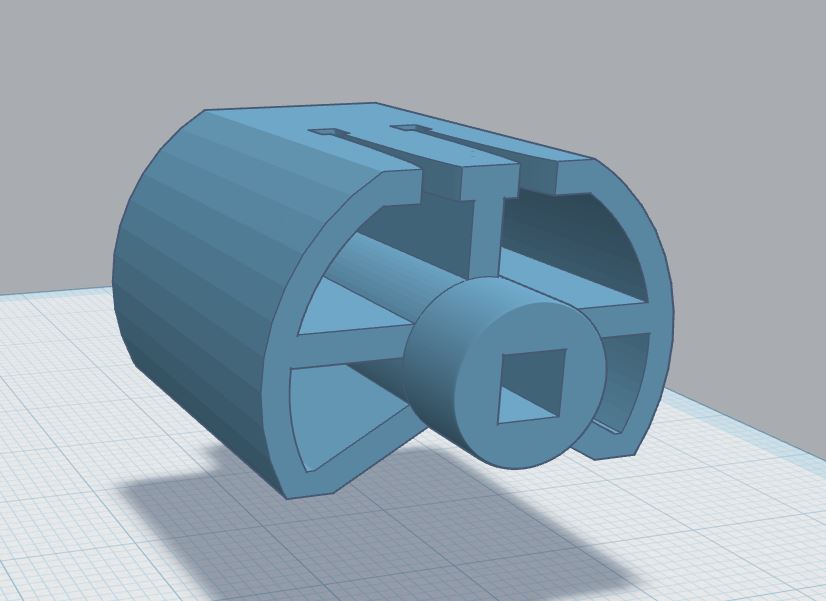
To make the original versions of these parts, I drew 2D profiles of each flat surface in Lightburn (laser cutting software) by referencing my measurements. I exported these 2D surface profiles as SVG files for import into TinkerCAD. From there, I used TinkerCAD’s tools to extrude the shapes into 3D, then rotate and stick the 3D parts together as needed.
While the process was not all that different from the workflow in fancier software (e.g. sketch, then extrude), there were a lot more steps involved and I was pretty limited in what I could design.
However, it got the job done and gave me the confidence to keep going with other designs and better tools.
Manufacturing Process
On the first prototypes, I was quite happy with how sturdy these designs were when printed in PLA pro, and the drums fit nice and snug in the cradles.
I used a print orientation with the drums printing on their end – this was because I wanted the layer lines to run the circumference of the posts on which the drum spins. This makes the motion smooth and prevents any grinding of layer lines against one another.
This orientation also made sure the drums were strongest against forces which pull them from side to side, which is perfect for their purpose. The drums actually support a good deal of weight on larger blinds, since the weight of all the slats hangs from them.
Testing Process
Testing these designs was pretty straightforward using a repeated functional test – I disassembled, cleaned, retrofitted and re-strung (where necessary) about 10 sets of my own blinds, as well as several for other people. Any parts that were broken or looked like they might break soon got replaced with my printed models.
Once reassembled, each set of blinds was checked for the usual functionality – blinds up, blinds down, tilt forward and back. We have been using my replacement parts for about a year now, with no issues.
Two of the blinds I repaired get operated twice a day, every day at minimum because they have smart blinds units added onto them, and they are programmed to open and close based on sunrise / sunset. I consider this to be automated testing of these designs!
Closing Thoughts
The design goal was met, so I am calling this project a win. The repaired blinds work just as well as new ones. There is no indication that they contain non-standard parts.
These were my earliest designs, and I really enjoy it when I get positive feedback on them. It seems silly, but it always makes my day when these parts help someone out.
If you have any 2″ window blinds which are starting to act funky, chances are decent that they can be fixed using these models. As I mentioned earlier, they are shared on MakerWorld.
I will also make them available for sale in my shop for those without access to a 3D printer.
Design Update 1
I recently updated these models on my end by exporting them from Tinkercad and essentially rebuilding them in Fusion, which is the software I use now.
This was mainly to be able to keep all my models in the same place and format, but also so that I could generate the model renders you see in some of the pictures.