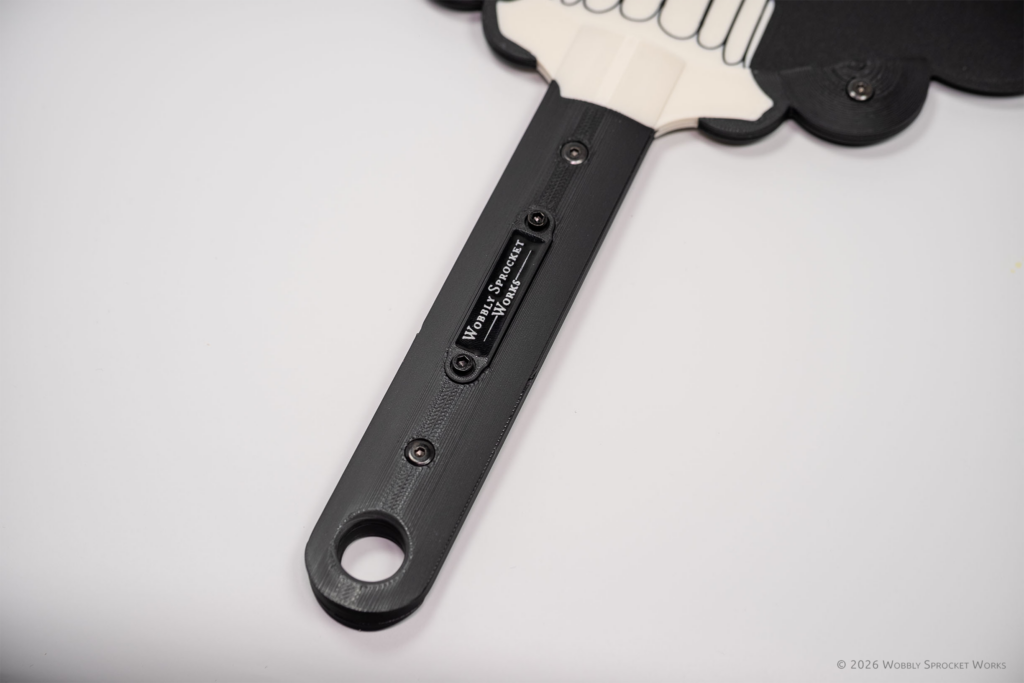
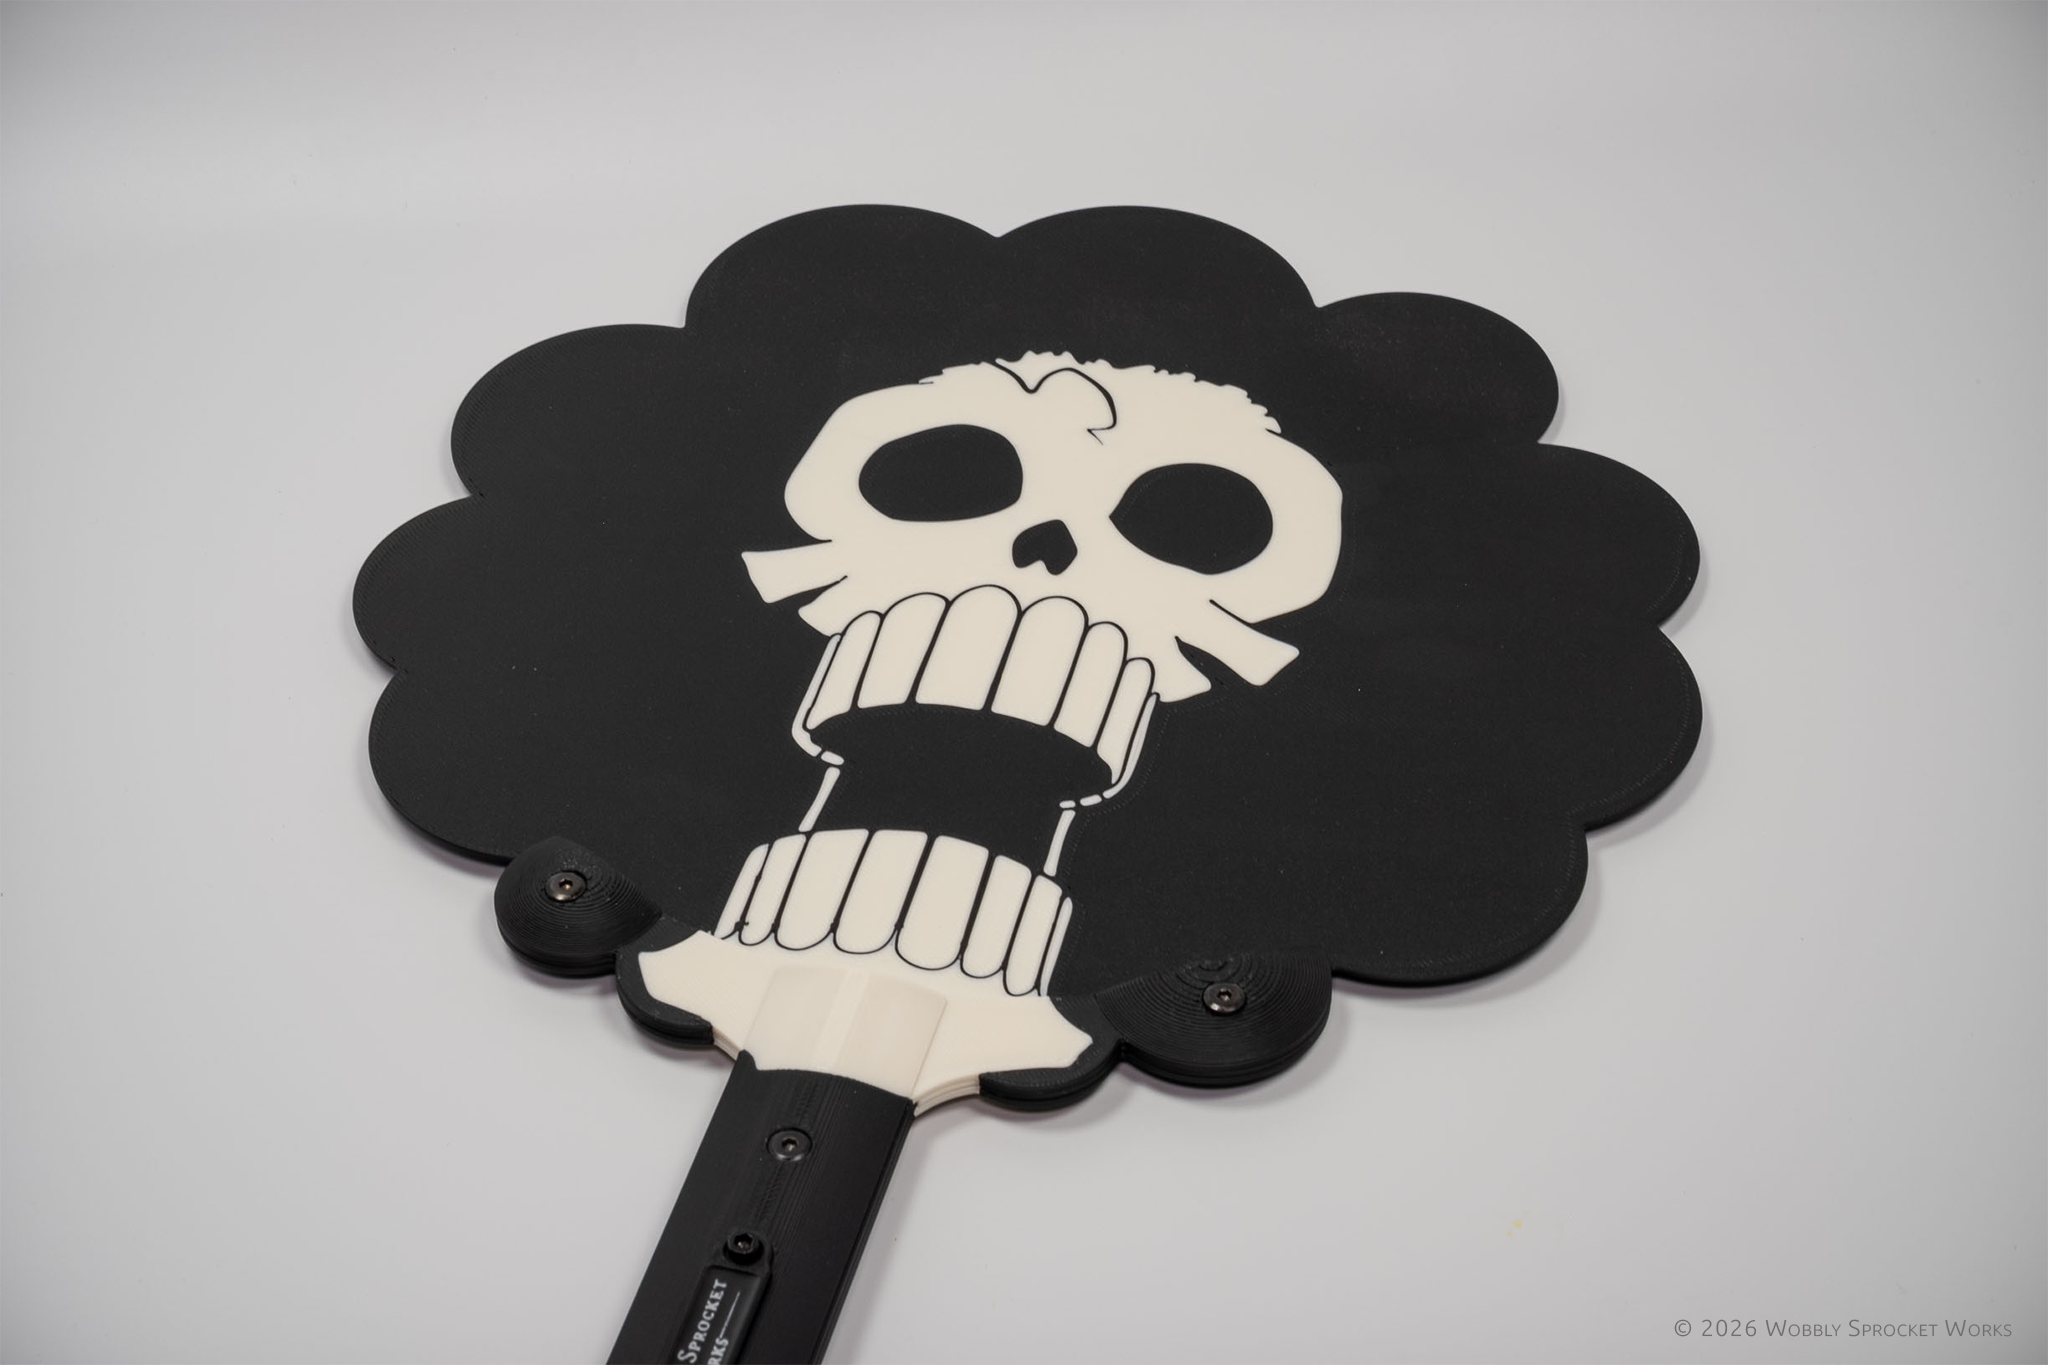
Summary
Replica fan, inspired by the anime One Piece.
Design Origin
My family is currently watching the anime series called One Piece together, and my daughter is a big fan of the character named Brook. This show has been running for 26ish years, is massively popular all over the world, and there is a metric ton of merchandise available for it.
However, Brook is not one of the more popular characters, so there isn’t as much out there as far as Brook themed items – and we even checked in Japan.
When I designed this product, we had recently watched the episodes in which Brook takes on the persona of Soul King, a rock star who puts on concerts. During these concerts, people can be seen in the crowd holding fans with his face on them. (Did I mention he’s a living skeleton? Yeah.)
I wanted to get one of those fans for my daughter for xmas, but alas, it did not exist. Hence, this design was born.
Purpose / Goals
Goals:
- Looks somewhat like the fans seen in the show
- Is sturdy enough to actually be used as a fan, long-term
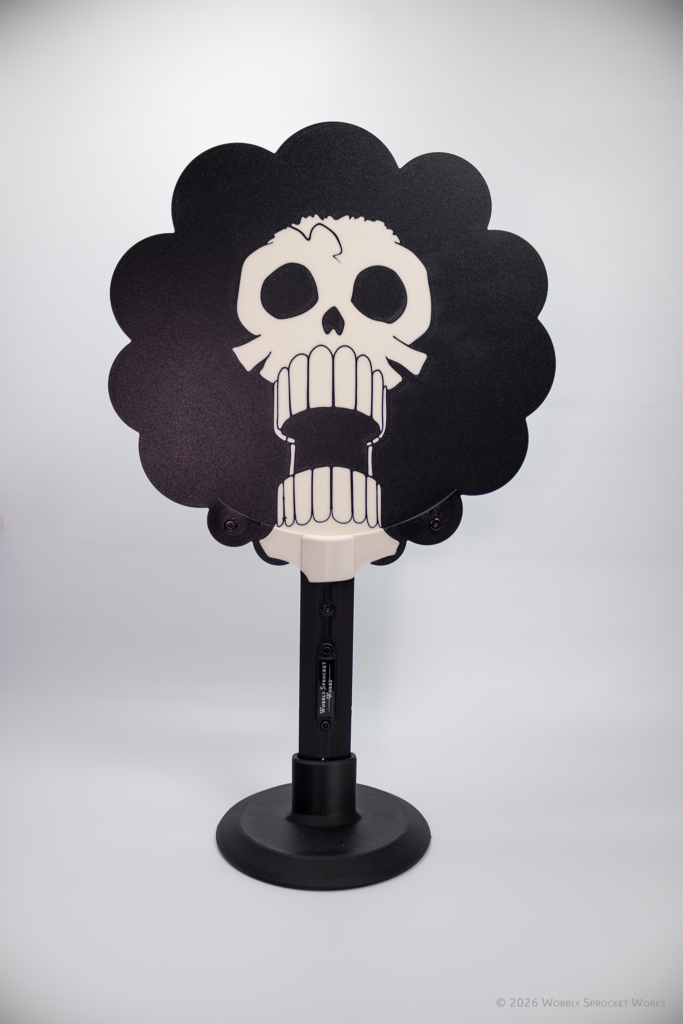
- Includes a display stand
Design Process
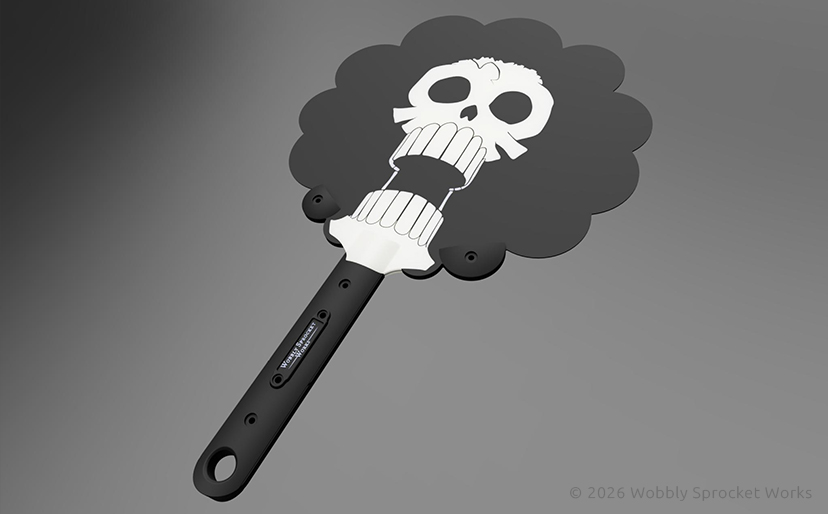
I started with an image of the crowd holding the fans in the show as a reference. The shape isn’t super complex, so I was able to get the silhouette made without much hassle. I took some liberties with the way the handle connects to the fan, since it needed to be sturdy and I had a plan for incorporating the skull image into the top of the handle.
My idea in general was to design this fan using my knowledge of how knives are made. The handle would have two scales which would sandwich together around the flat fan part, which would extend a ways into the middle of the handle, much like a full tang knife. This would help with sturdiness. The whole thing would be held together with a couple of M3 bolts and nuts.
However, I was unable to put a ‘tang’ on the flat part because it was already large enough to fill up the print bed of my printer without one.

Instead, I built in some supporting parts which ‘reached up’ from the handle and framed the bottom of the flat fan area, sandwiched in place with a couple of additional screws. This was for added sturdiness and to prevent the PLA from fatiguing at the point where it took the most stress when waving the fan around.
The skull image was interesting to build because I used only the curve sketching tools within Fusion – at the time, I didn’t know how to import vector graphics from an actual art program, which would have made the task easier. I used pictures I found online as a reference.
The top portion of the handle which overlaps the flat fan part has some rounded elements on it, partially to look nice and add stability but also to add enough thickness so that I could fit some screws and nuts on there. At the time, those rounded bits were a challenge to design, because they are essentially the top portion of a sphere – but I needed them to be the same height, and match up to several different predetermined circle sizes. It was a challenge I had not encountered before, finding the correct combination of sphere size and position, to get everything lined up.
The last thing this design needed was a display stand. This was pretty simple – I made a round base with a vertical tube in the middle which had the same shape as the handle but left about 1 mm of wiggle room so it would be snug, but not difficult to insert or remove.

Manufacturing Process
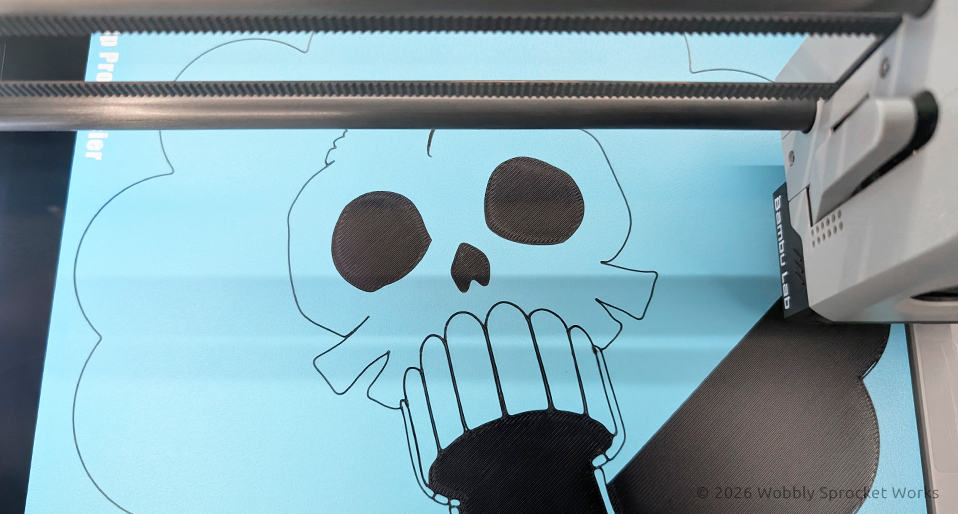
To build the skull image into the flat part of the fan, I opted to use separate modeled objects with no gap in between. Exported as separate files, then imported into the slicer as a single model, they would then print as a single part but could be more easily assigned different filament colors.
This sort of worked; because the flat area is only a few layers thick, there were some barely visible pinholes in between the differently colored areas. The holes bothered me, but this also indicated a larger problem, as this meant that there was inherently a weak spot wherever the two different colors met, and I didn’t want the poor guy’s teeth to start popping out someday.
I ended up keeping a central layer or two as all one color, to make sure everything on the outer layers remained sturdy. This is hard to describe, but in the cross-sectional picture to the left, you can see the central white layer extending nearly to the edge of the fan. This worked nicely to physically tie the white and black areas of the outer layers together.
Testing Process
Well.. for testing this design I waved it around like ya do with a fan, except more vigorously and for much longer than most people would likely do, since I was actively trying to break it.
I have also been checking it once in a while over the past seven months to see if anything my daughter has done with it caused any wear and tear. I haven’t seen any signs of the PLA fatiguing, so I think this design is ready to go.
Design Update 1
I revisited this design for the following reasons:
- The little crack on the forehead was a tad too thin for my printer to handle reliably. Sometimes the filament would have trouble staying put at the thinnest parts, so I made it about twice as thick at those parts.
- Made the flat fan area a full 1 mm thick instead of 0.8 mm. I didn’t have a concrete reason for doing so, other than I wanted it to have a tad less flex to it when waving it around, and it was nagging at me.
- Added the brand plate on the handle.